Roof insulation
The roof is the largest area of heat loss in a house besides the facade. Without adequate insulation, about 30% of household heat is lost through the roof. That is why a good roof insulation is vitally important when it comes to saving money on your heating bills as well as supporting the environment.
Insulating the roof serves a simple purpose: as warm air tends to rise it makes sense to keep the produced heat within the building.
Nowadays, roof insulation criteria are ruled by legislation in order to actively contribute to an energy turnaround. The energy saving regulations (EnEV) define a set of parameters relevant for roof insulations. As buildings are individual, there are various methods available to guarantee optimal roof insulation.
Examples of use
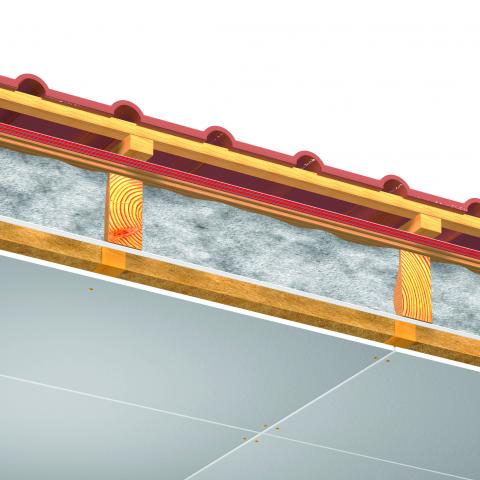
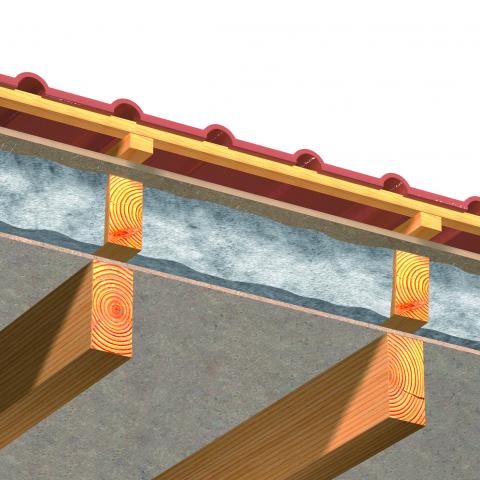
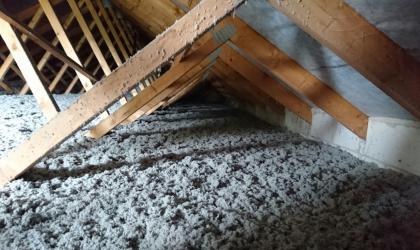
Roof Construction full rafter insulation - additional storage mass efficiency inside
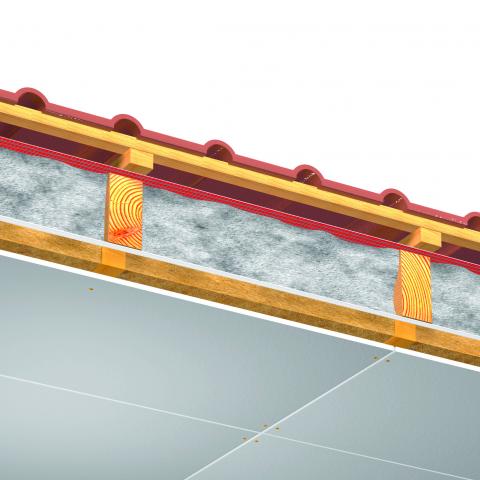
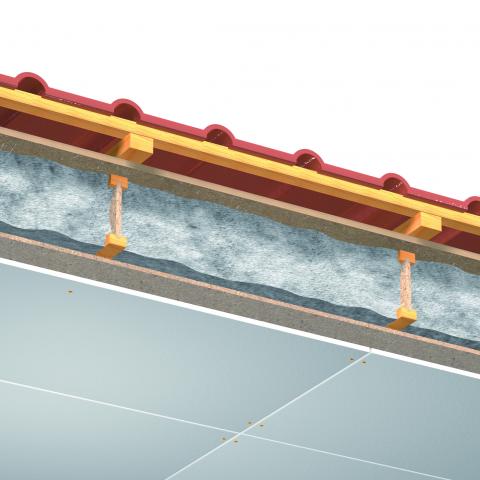
Roof Construction full rafter insulation with balancing lathing and roof sheathing
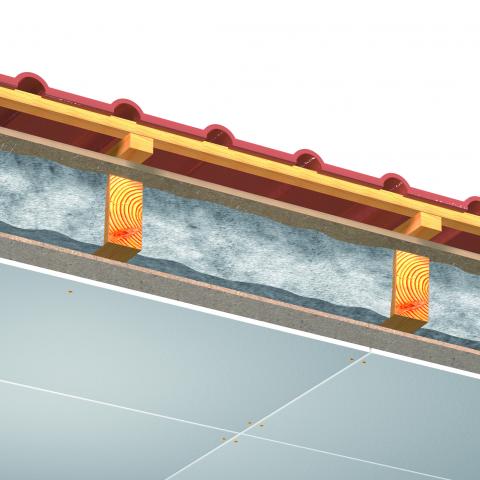
Roof Construction full rafter insulation with OSB and soft fiberboard
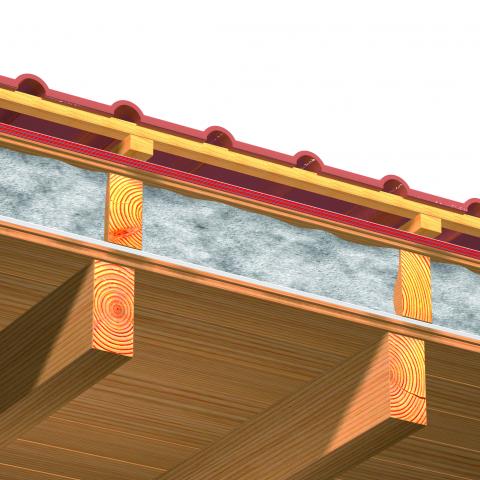
Roof Construction with insulation above rafters outside roof sheathing, vapor permeable roof sheathing, visible rafter inside
Roof Construction with insulation above rafters with OSB and soft fibreboard
Roof Construction, Passive House
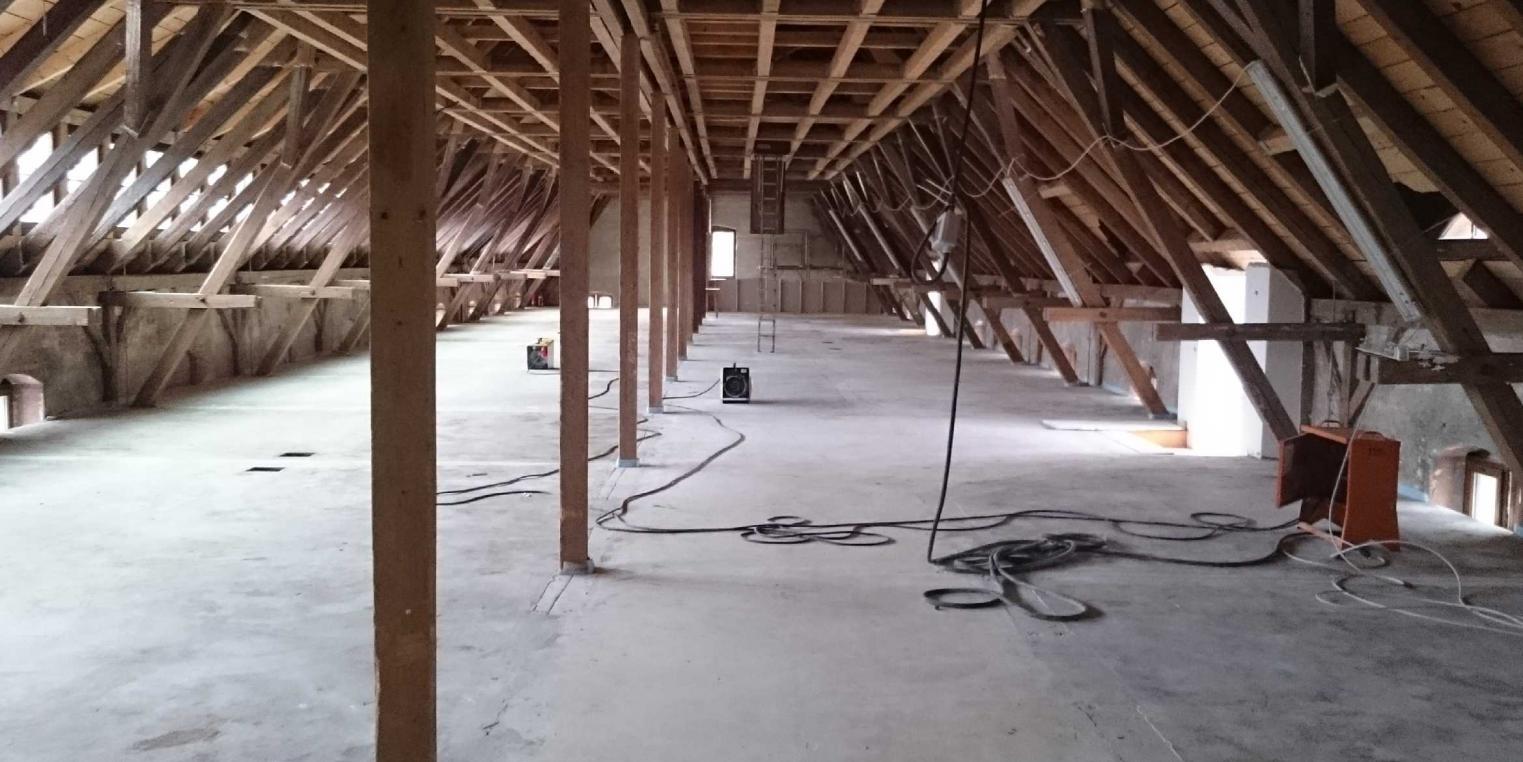
THERMOBAG System - Insulation of existing structures
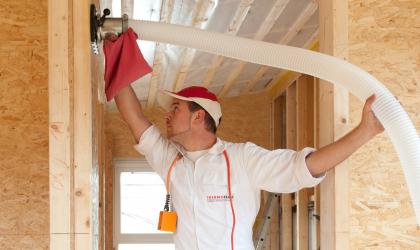
The THERMOFLOC THERMOBAG system provides a way to insulate existing roof areas clean and cost-effectively. The only requirement is suitable access to the partitions via the top storey of the building. The THERMOBAG consists of a vapor barrier on the room side (SD value approx. 10 m) beneath a vapor open (SD value < 0.04 m), water impermeable PP membrane on the outside for optimum protection of the thermal insulation.
Good to know...
The THERMOBAG system is not a replacement for a functioning sub-roof; rather it protects the installed insulation against weather-related moisture and airflow. It must be kept in mind, that due to the set size of the compartment space, there are limits as to the thickness of the insulation layer (maximum thicknesses up to 20 cm can be achieved).
THERMOBAG system – step by step:
- Put the THERMOBAG in the compartment space. Carefully and with the help of rods if required, position the empty THERMOBAGS into the optimum position.
- Cut the THERMOBAG to the respective compartment lengths, fold accordingly and seal on one side with staples. Now, the THERMOBAGS can be inflated with blown-in insulation until the
- compartment space is completely filled. Then, the bags are securely sealed with staples and adhesive tape. The rafter insulation is finished!
Further areas of application


